There’s something magic about plucking a cherry tomato still warm from the sun, biting into it, and tasting that bright, sweet flavor—nothing from the grocery store comes close. I learned this 3 years ago, when I tried my first vegetable garden and failed miserably: I planted a huge 10ft plot, overcrowded seeds, ignored drainage, and watched everything wilt within a month. I almost gave up on gardening entirely—until I realized the mistake wasn’t me (I truly have zero natural “green thumb”)—it was trying to do too much, too fast.
Today, I grow a thriving 4ft x 4ft garden on my patio (plus a few containers) that feeds my family fresh veggies from spring to fall. No fancy tools, no years of experience, just simple, tried-and-true steps that I wish someone had told me as a beginner. This guide isn’t generic advice—it’s my real journey, from failed crops to bountiful harvests, with all the mistakes, hacks, and wins baked in. Whether you have a tiny balcony, a small yard, or zero gardening experience, this is for you.
1.Plan Smart: Start Small (My #1 Beginner Mistake Fixed)
Let’s cut the fluff: The biggest mistake new gardeners make is planting too much, too soon. I thought a bigger plot meant more veggies—instead, I was overwhelmed with weeding, watering, and troubleshooting, and ended up abandoning half of it. Here’s what actually works, based on my 3 years of trial and error:
Start Tiny (Trust Me)
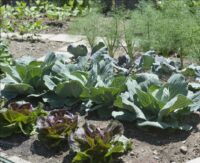
Begin with a 4ft x 4ft plot (or 2-3 large containers) if you’re new. My first successful garden was just 3 containers on my patio—zucchini, lettuce, and cherry tomatoes—and it was manageable, rewarding, and kept me motivated. A small, well-tended garden will give you better results than a huge, neglected one.
Choose the Right Spot (3 Non-Negotiables + My Fail Story)
-
Sunlight: 6-8 hours of direct sun (non-negotiable) – I first planted my garden in a spot that got 4 hours of sun (shaded by a maple tree), and my lettuce was leggy, my tomatoes never ripened. I moved it to a south-facing patio, and overnight, everything perked up. Pro tip: Use your phone to track sunlight—take a photo every hour to find the sunniest spot.
-
Drainage: No water pooling! – After a heavy rain, my first plot turned into a puddle, and my carrot seeds rotted. If your space has poor drainage, use raised beds (I built a simple 1ft tall bed with untreated wood) or containers with drainage holes. For in-ground gardens, add a 2-inch layer of gravel to the bottom to keep soil from waterlogging.
-
Easy Access: Don’t stretch to reach plants – Keep your garden within arm’s reach (max 4ft wide) so you don’t step on soil (compaction kills roots!). I made my raised bed 3ft wide, so I can tend plants from both sides without stepping in.
2.Prep the Soil: The Secret to No-Fail Plants (My Soil Mistake Cost Me a Harvest)
I used to skip soil prep—“dirt is dirt, right?” Wrong. My first garden used straight garden soil from my yard, which was hard as clay, full of rocks, and my plants barely grew. Healthy soil isn’t just a “nice-to-have”—it’s the reason my tomatoes went from tiny, bitter fruits to plump, sweet ones. Here’s the structured, no-nonsense way to prep soil (even if you’re a beginner):
Step 1: Clear & Loosen
Clear the area of weeds, rocks, and debris (I spent 30 minutes picking out old roots and stones—worth it!). Loosen soil with a garden fork (no tiller needed!) to 8-12 inches deep—this lets roots grow freely and access nutrients. If your soil is super compacted (like mine was), soak it with water 1 day before loosening to make it easier.
Step 2: Test & Amend (My pH Fail)
Most veggies love slightly acidic to neutral soil (pH 6.0-7.0). I skipped this step and planted carrots—they grew short, twisted, and bitter. A $10 home pH test kit revealed my soil was too acidic (pH 5.0). I added lime to raise it, and the next year, my carrots were straight and sweet.
My Go-To Soil Blend (Works for All Veggies)
| Soil Component | Percentage | Why It Works |
|---|---|---|
| Organic Topsoil | 40% | Provides a base for roots; avoid non-organic topsoil (may have chemicals) |
| Compost (Homemade or Store-Bought) | 40% | Feeds soil microbes; adds nutrients without chemicals (I use homemade compost from kitchen scraps!) |
| Perlite or Vermiculite | 20% | Loosens soil; improves drainage (critical for clay soil like mine) |
Pro Tip: Skip chemical fertilizers—they give a quick boost but harm soil health long-term. I use aged manure (composted for 6+ months) once a year to replenish nutrients.
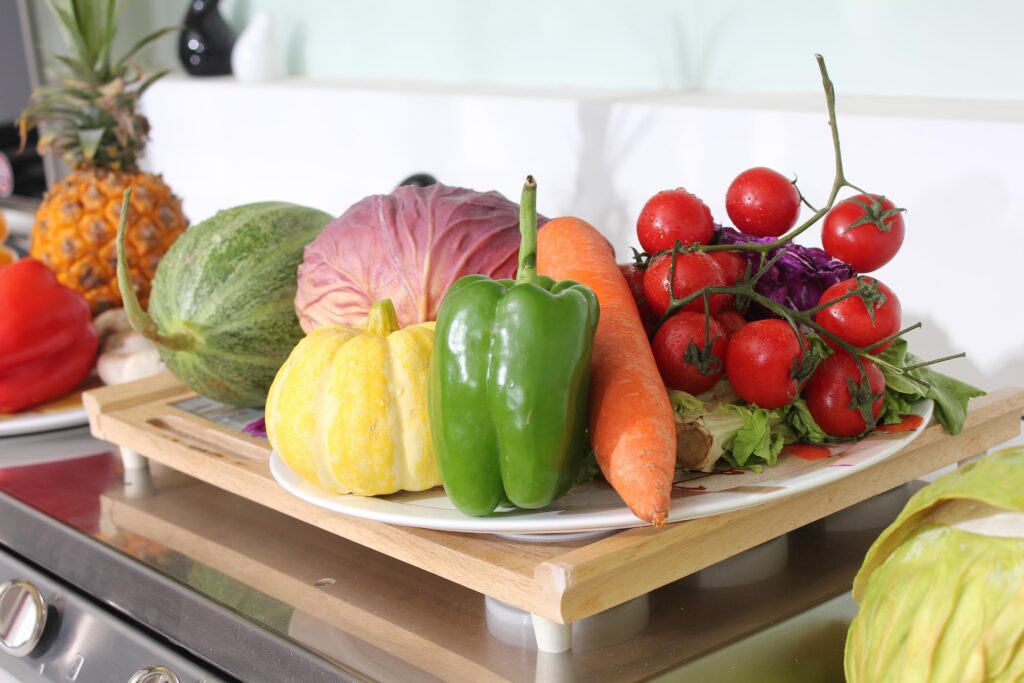
3.Choose Veggies: Grow What You Love (And What Actually Grows for Beginners)
I made the mistake of growing “trendy” veggies (looking at you, artichokes) that I didn’t even like eating—total waste. The best rule? Grow what your family eats. And for beginners, stick to resilient, high-yield varieties—no fancy or finicky plants. Here’s my curated list (all have worked for me!):
Beginner-Friendly Veggies (Low Effort, High Reward)
Leafy Greens (Lettuce, Spinach, Kale) – Grow in 4-6 weeks; harvest leaves as you need them (no need to wait for full maturity). I plant lettuce in succession (every 2 weeks) so I have fresh greens all spring.
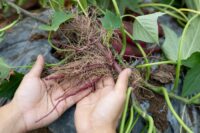
Root Veggies (Radishes, Carrots, Beets) – Radishes grow in 3 weeks (perfect for instant gratification!); carrots and beets take 6-8 weeks but are low-maintenance. Pro tip: Thin seedlings to 2 inches apart—overcrowding makes them small (I learned this when my first carrots were the size of pencils).
Warm-Weather Favorites (Cherry Tomatoes, Bell Peppers, Zucchini) – Cherry tomatoes are harder to mess up than big tomatoes; zucchini is a “plant and forget” crop (mine produced so much, I gave it away to neighbors!). Tomatoes need a stake or cage—mine fell over the first year, so I now use a simple bamboo stake.
Companion Planting (My Hack to Deter Pests)
I used to struggle with aphids on my tomatoes—until I planted basil next to them. Companion planting isn’t just “garden lore”—it works. Here are my go-to pairs (tested and true):
-
Basil + Tomatoes: Repels aphids and whiteflies; makes tomatoes taste better (I chop fresh basil and tomatoes together for salads—heaven!)
-
Marigolds + Any Veggie: Keeps beetles and nematodes away (I plant marigolds around the edge of my garden—they add color too!)
-
Lettuce + Carrots: Lettuce shades carrot roots (keeps them cool); carrots break up soil for lettuce roots.
4. Plant Smart: Timing & Spacing (Avoid My Overcrowding Mistake)
Planting at the wrong time or crowding seeds is a beginner’s worst enemy. I once planted all my seeds at the same time (tomatoes, lettuce, carrots) and the lettuce bolted (turned bitter) before the tomatoes even sprouted. Here’s the structured timing and spacing guide I use now:
Planting Timing Cheat Sheet (Zone 5-7—Adjust for Your Zone)
| Crop Type | Planting Time | My Pro Tip |
|---|---|---|
| Cool-Season (Lettuce, Spinach, Radishes) | Early spring (2-3 weeks before last frost) or late fall | Plant in shade during summer to prevent bolting |
| Warm-Season (Tomatoes, Peppers, Zucchini) | After last frost (late May-early June) | Start seeds indoors 4 weeks early for a head start (I use egg cartons as seed trays—cheaper than store-bought!) |
Overcrowding makes plants compete for sun and nutrients—my first zucchini plants were so close, they got powdery mildew and died. Follow these spacing guidelines (printed on seed packets, but I simplified them):
-
Leafy greens: 4-6 inches apart
-
Root veggies: 2-3 inches apart
-
Tomatoes/peppers: 18-24 inches apart
-
Zucchini: 24-36 inches apart (they spread!)
Transplanting Hack (Don’t Kill Seedlings!)
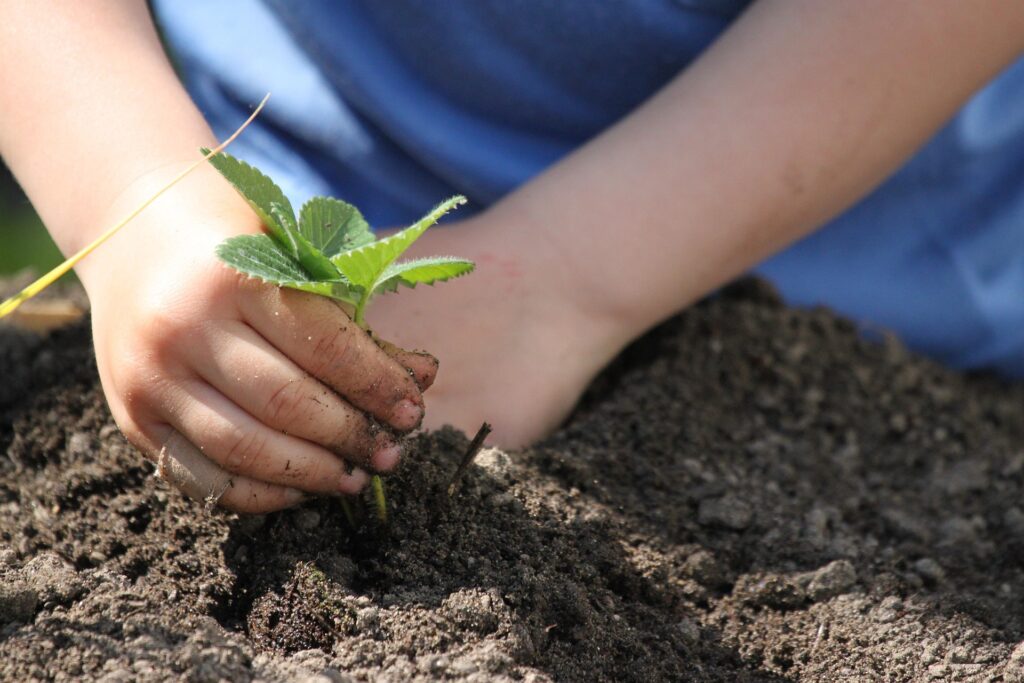
I used to pull seedlings by the stem and wonder why they died—turns out, stems are fragile! Handle seedlings by the leaves (they’ll regrow leaves, but not stems). Plant them slightly deeper than they were in the seed tray—this helps them grow stronger roots.

5.Maintain & Harvest: Low Effort, Big Rewards (My Lazy Gardener Routine)
Gardening doesn’t have to be a daily chore—I work full-time, so I only spend 10-15 minutes a day on my garden. Here’s my simple maintenance routine that works:
Watering: Deep, Not Daily
I used to water lightly every day, and my plants had shallow roots that dried out fast. Now, I water deeply 2-3 times a week (1-2 inches per session) early in the morning—this reduces evaporation and prevents fungal diseases. Pro tip: Use a soaker hose (cheaper than a sprinkler) to water at the base of plants—no wet leaves = no fungus.
Weeding & Mulching (Less Work = Happier Gardener)
Weeds steal nutrients, but you don’t have to pull them every day. I pull weeds when they’re small (easier to remove) and use straw mulch around plants—this suppresses weeds, retains moisture, and keeps soil cool. I buy straw from my local farm stand for $5 a bale—it lasts all season.
Harvesting: Pick Ripe, Pick Often
The biggest mistake I made was letting tomatoes get overripe on the vine—they got mushy, and the plant stopped producing. Harvest when veggies are ripe: leafy greens when they’re young (tenderer), tomatoes when they’re fully colored (no green spots), zucchini when they’re 6-8 inches long (bigger = tough).
Pro Tip: Pick cherry tomatoes every 2 days—they ripen fast! I keep a small bowl by the garden to collect them as I go.
Final Thoughts: Gardening Isn’t About Perfection (It’s About Progress)
I still have bad days in the garden: aphids attack my peppers, a storm knocks over my tomato stake, or a batch of seeds doesn’t germinate. But that’s okay—gardening is a journey, not a destination. The first time I bit into a cherry tomato I grew myself, all the failed crops and frustration were worth it.
You don’t need a green thumb, a huge yard, or fancy tools. You just need to start small, be patient, and learn from your mistakes (like I did). My 4ft x 4ft garden isn’t perfect, but it’s mine—and it feeds my family fresh, delicious veggies all season long.
This year, skip the “perfect garden” pressure. Grab a few seeds, a small plot or container, and give it a try. I promise—you’ll be hooked on that fresh, sun-warmed flavor of homegrown veggies.