A productive vegetable garden doesn’t begin with seeds or fertilizer—it starts with healthy soil. After three years of struggling with stunted tomatoes, bitter lettuce, and carrots that refused to grow straight, I finally learned that skipping soil prep was the single biggest mistake home gardeners make. What changed everything for me wasn’t fancier tools or more expensive plants; it was slowing down to test, amend, and till my soil properly.
Below is the straightforward, actionable guide I now follow every spring. It’s based on what actually worked in my 10×12 backyard raised beds, with no generic advice and no unnecessary steps.
1.Soil Testing: Stop Guessing, Start Knowing
Before you add a single thing to your soil, test it. I used to skip this step entirely, dumping in random compost and fertilizer and wondering why my plants still struggled. A simple test changed all that.
pH Test (Most Important for Vegetables)
Nearly all common veggies—tomatoes, peppers, carrots, lettuce, beans—grow best in slightly acidic to neutral soil: pH 6.0–7.0.
I first used a cheap at-home test kit and discovered my soil was overly acidic at 5.2. My tomato plants looked healthy but produced almost no fruit—now I know why.
- If pH is too low (acidic): Add garden lime to raise it.
- If pH is too high (alkaline): Use granular sulfur to lower it.
Real lesson: Follow the package rates closely. I once over-applied lime and had to wait an entire season for my soil to balance again.
Texture & Drainage Test (No Lab Needed)
Take a handful of damp soil and squeeze it:
- Tight, sticky clump that won’t break = heavy clay soil
- Falls apart immediately = sandy soil
- Holds shape then crumbles gently = perfect loam
My garden had dense clay. For years, water would pool on the surface and roots suffocated. Once I identified it, fixing it became simple.
Nutrient Test (N-P-K)
For a small investment, a professional soil test will show your levels of nitrogen, phosphorus, and potassium. The lab even sent me a personalized report telling me exactly how much compost and fertilizer to add. No more wasting money on products I didn’t need.
2.Soil Amending: Build Soil That Feeds Your Plants
Amending isn’t just “adding dirt”—it’s improving structure, drainage, and long-term fertility. After years of trial and error, I now rely almost entirely on organic matter.
Fixing Clay Soil (My Exact Situation)
Clay packs tight, drains poorly, and stops roots from spreading.
What worked for me:
- A 2–3 inch layer of coarse compost
- Aged manure (6+ months old)
- A small amount of perlite
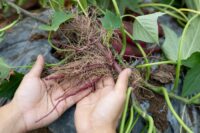
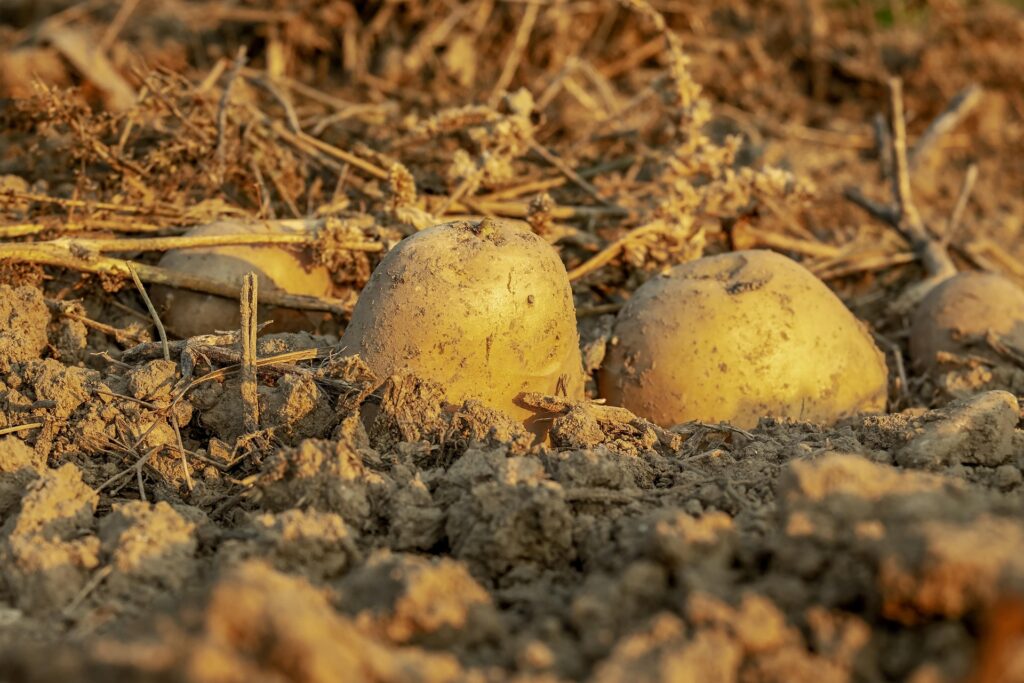
I mixed this into the top 8 inches, and within one season, my carrots grew straight for the first time ever.
Important warning: Do not add sand to clay. It turns into a hard, concrete-like layer that’s worse than before.
Fixing Sandy Soil
If water runs right through your beds, add:
- Fine compost
- Leaf mold
- Aged manure
These act like a sponge to hold moisture and nutrients so plants don’t dry out in hot weather.
For Already Good Loam
Even great soil needs a refresh. Each year I add a 1-inch top layer of compost to replace nutrients used up by last season’s crops.
Rule I live by:
Never use fresh manure. It burned my young seedlings badly early on. Always use composted or aged manure only.
3.Soil Tilling: Loosen Smart, Not Hard
Tilling is helpful—but over-tilling ruins soil. I used to till deep and often, wondering why my soil kept getting harder.
When to Till
Only till when soil is moist but not wet.
If it sticks to your shovel or clumps in globs, wait a few days. Tilling wet clay creates hard clods that last all season.
I prefer tilling in early spring, about 2–3 weeks before planting.
How Deep to Till
- Most vegetables: 6–8 inches
- Root crops (carrots, beets, parsnips): 8–10 inches
- Never go deeper than 12 inches
Going too deep destroys beneficial fungi and disrupts the natural soil layers.
Tools That Actually Work
- Small beds: A garden fork is better than a tiller. It’s gentler and lets you break up clumps by hand.
- Larger plots: A light rototiller works fine.
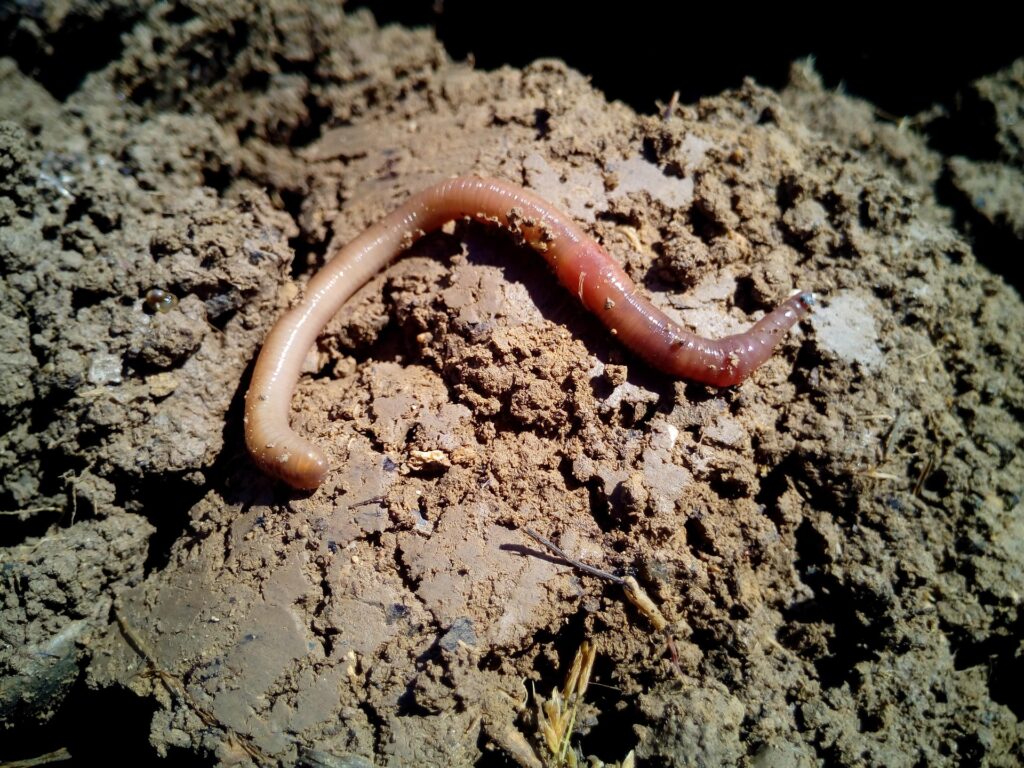
- No-dig option: Skip tilling entirely. Layer compost on top and let worms do the work. This is now my favorite method for raised beds.
Final Step I Never Skip: Let the Soil Settle
After tilling and amending, I lightly water the bed and let it sit for 7–10 days before planting.
Why it matters:
- Reduces air pockets that dry out tender roots
- Lets compost begin breaking down and releasing nutrients
- Creates a firm, even seedbed
Before I started doing this, my seeds would often wash away or fail to germinate evenly.
Why This Works Better Than Any “Quick Fix”
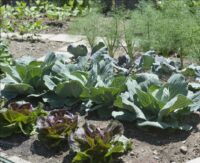
Healthy soil isn’t a one-time project—it’s a habit. After following this routine for two full years, my vegetable garden transformed completely:
I watered less and had almost no pest issues
Tomatoes grew taller and produced twice as much fruit
Peppers turned sweet instead of bitter
Carrots and beets grew straight and full